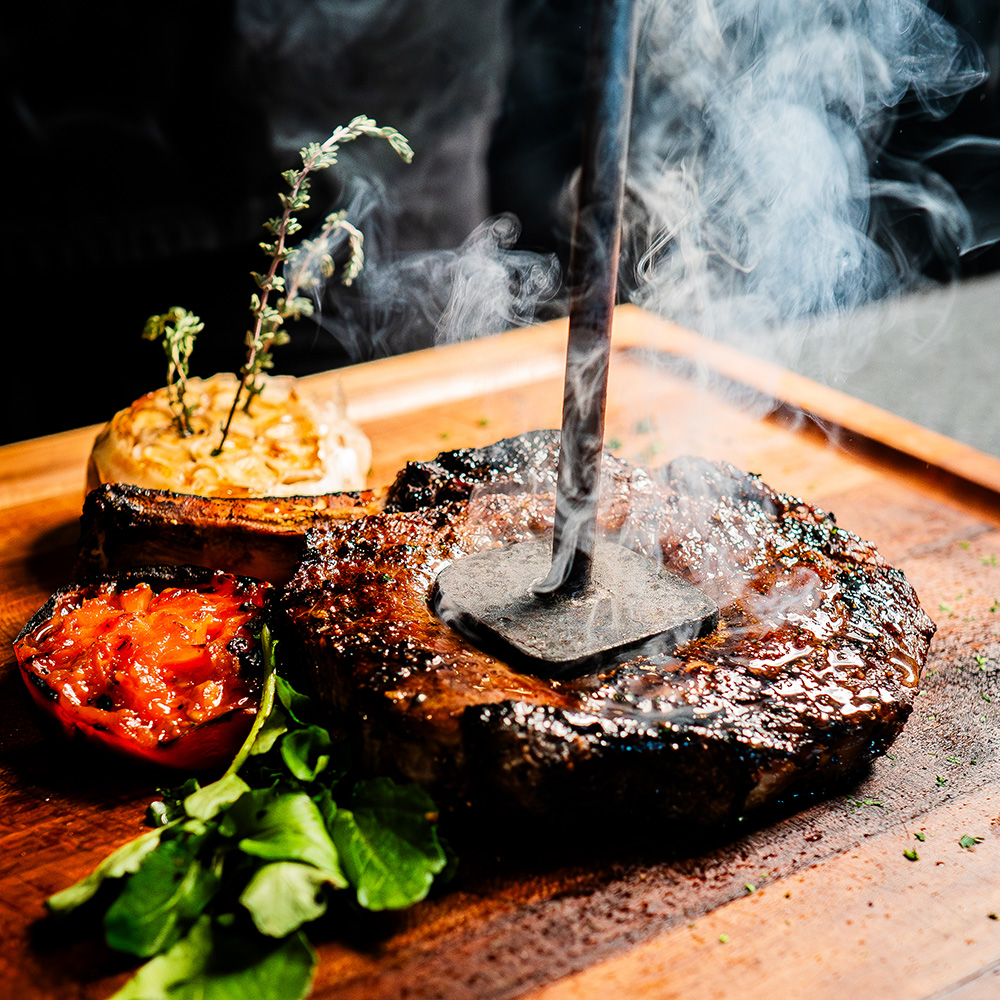
Grilling a steak with a crisp sear and juicy center at home is simpler than most people think, and the secret comes down to the same principles Sullivan’s uses in our kitchen every night. With the right cut, proper preparation, and a few steakhouse moves, you can get a deep crust, tender center, and plenty of juice.
This guide walks you through every step, from choosing grill-friendly cuts to referencing a reliable steak temperature guide, hitting your target doneness and avoiding the most common mistakes. For a quick-reference bookmark on target temperatures, visit our
Main Takeaways
- Start with a well-marbled cut like ribeye, New York strip, or filet mignon for the richest flavor and juiciest results.
- Build a better crust by using two heat zones—sear over direct heat, then finish thicker steaks more gently.
- Temperature matters more than timing. A reliable thermometer helps you hit your preferred doneness with confidence.
- A few simple details, proper seasoning, a hot grill, and letting the steak rest make a big difference.
And when you’d rather leave the sear to the experts, Sullivan’s Steakhouse serves hand-cut steaks in a setting designed for lingering over great food, cocktails, and conversation.
Start with the Right Cut of Steak
Deciding what steak to order or grill at home determines everything from flavor intensity to how forgiving the meat will be over open flames.
Best Cuts for Grilling
Not every steak performs equally on the grill. Among the many types of steak, here are the cuts that shine brightest over high heat:
- Ribeye – Generous fat content melts into the meat for a bold, buttery bite.
- New York Strip – A leaner profile with a satisfying, robust beef taste.
- Filet Mignon – Exceptionally tender with a smooth, buttery texture
- Porterhouse/T-Bone – Two experiences in one, featuring both strip and tenderloin.
Thinner cuts like skirt steak and flank steak also perform beautifully over high heat when sliced against the grain. At Sullivan’s, every steak on the Sullivan’s Steakhouse menu is hand-cut and prepared to bring out the best in every bite.
Why Marbling Matters
Great steak starts with marbling.
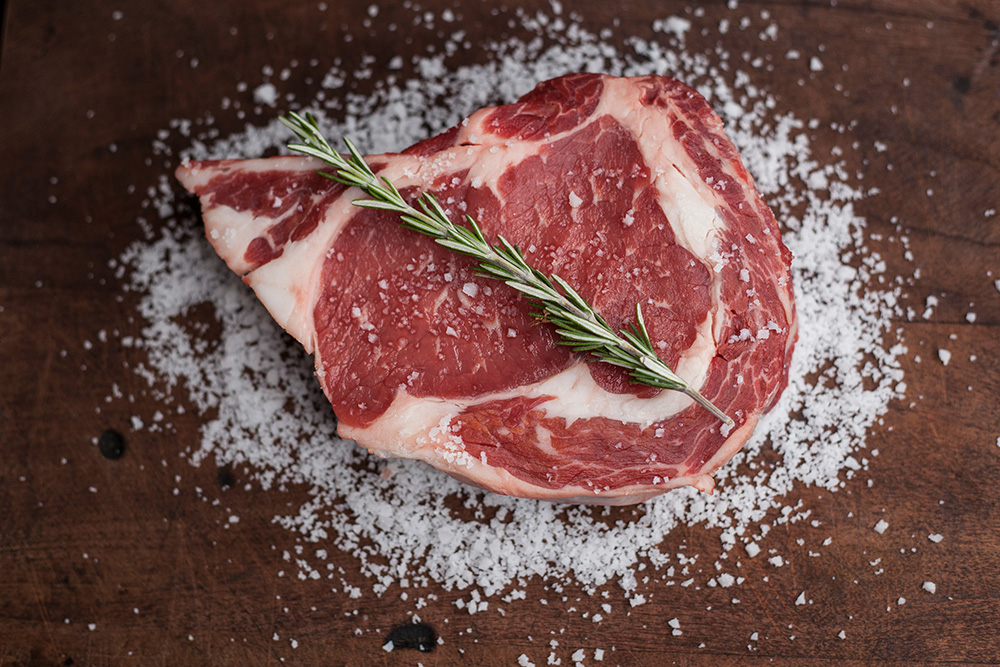
Those delicate ribbons of fat woven throughout the meat create the richness, flavor, and juicy texture that steak lovers crave. As the steak cooks, that marbling melts into the meat, helping create the kind of perfect grilled steak people remember long after the meal ends.
When it comes to grilling, marbling often matters more than any seasoning or marinade. It’s one of the clearest signs of a quality steak and a big reason cuts like ribeye remain steakhouse favorites.
If you’ve ever compared USDA Prime vs Choice, the biggest difference comes down to marbling. USDA Prime is known for its abundant marbling, which enhances flavor and juiciness, making it a favorite among steak lovers seeking a richer bite.
USDA grades offer a helpful benchmark:
- Prime – Abundant marbling for exceptional flavor and juiciness
- Choice – A balance of tenderness, flavor, and value
- Select – Leaner with less marbling throughout
In general, more marbling means more richness and flavor in every bite.
Prepare Your Steak Like a Pro
A few simple steps before grilling help the steak sear faster and cook more evenly.
Bring Steak to Room Temperature
Pull your steak from the refrigerator about 20 to 30 minutes before grilling. A cold steak thrown directly onto hot grates will cook unevenly, often leaving you with a gray exterior while the center remains too cool. Letting the meat warm to room temperature ensures consistent cooking from edge to center.
Season Simply but Generously
The steakhouse secret? Keep seasoning simple. Kosher salt and freshly cracked black pepper, applied liberally on all surfaces, is all you need.
For even better results, apply salt and pepper 30 to 60 minutes ahead. This allows the seasoning to penetrate deeply. Just before grilling, pat the surface dry and add high-smoke-point oil like avocado or canola.
Pat the Steak Dry
Surface moisture is the enemy of a proper sear. Use paper towels to blot away any liquid right before your steak hits the grates. Wet meat creates steam instead of caramelization, and steam won’t give you that beautiful crust you’re after.
Set Up Your Grill for Success
Whether you’re using a charcoal or gas grill, success starts before the steak hits the heat.
Direct vs Indirect Heat
One of the best ways to grill steak is by creating two heat zones, which gives you complete control.
Heat the grill thoroughly, leaving one part of the grill hotter than the other. This gives you the flexibility to sear the steak over direct heat, then move it to a gentler area if it needs more time to reach the desired temperature.
For thicker cuts, this approach helps cook the center of a steak evenly while preserving a beautiful exterior.
Ideal Grill Temperature
Heat the grill until it’s hot enough to create an immediate sizzle when the steak touches the grates.
A temperature between 450°F and 500°F creates the kind of deep char that steak lovers crave while helping the steak cook evenly from edge to center.
Use our steak temperature guide to match your grill heat with the doneness targets below.
Clean and Oil the Grates
Clean grill grates help create cleaner flavors and better grill marks.
Before cooking, brush the grill grates thoroughly and lightly coat them with oil. An oiled grill helps prevent sticking and allows the steak to release naturally when it’s ready to turn.
How to Grill a Steak with a Better Sear
Now the fire does the talking, and each move helps build the crust and center you want.
Sear First for Flavor
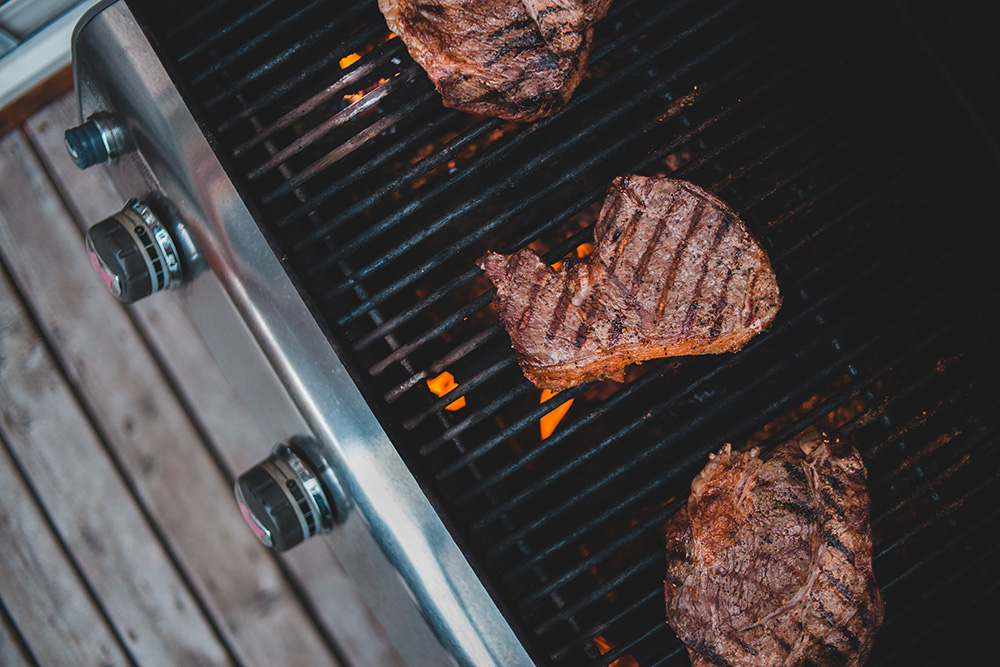
Place the steaks on the hottest section of the grill and let them sit undisturbed for 2 to 4 minutes per side.
This uninterrupted contact triggers the Maillard reaction, building that deeply caramelized, flavorful exterior.
Resist the urge to press down with your spatula. That squeeze forces precious juices and melted fat right out of the meat, leaving you with a drier finished product.
Move to Indirect Heat if Needed
Once both sides are properly seared and have developed color, move the steak to a cooler section, close the lid, and cook gently until it reaches your desired doneness. This simple step ensures the steak finishes evenly without overcooking the exterior.
For precise timing by cut, explore our guide to steak cooking times.
Flip Only Once
A single flip gives each side enough contact time to form a sturdy crust. You’ll know it’s time to flip when the steak slides off the grates without sticking.
The popular 3-3-3 rule suggests 3 minutes per side over high heat, then 3 minutes on indirect heat. This works reasonably well for one-inch steaks targeting medium rare, but always check the temperature with a thermometer rather than relying solely on timing.
Watch for Flare Ups
Flare-ups happen when fat drips directly onto the flame.
A quick burst of fire can add character, but prolonged flames can overwhelm the steak’s flavor. If flare-ups become excessive, simply move the steak to a different area of the grill until things settle down.
Use Temperature, Not Time
Timing offers helpful guidance, but internal temperature is the only reliable measure of doneness.
Doneness Temperature Guide
Different preferences call for different target temperatures. The USDA recommends a safe minimum internal temperature of 145°F2 with a 3-minute rest for beef steaks, though many steak enthusiasts prefer lower temperatures for rare and medium-rare preparations:
- Rare – 120°F–130°F with a cool red center.
- Medium-Rare – 130°F–135°F with a warm red center.
- Medium Steak – 135°F–145°F with a pink center.
- Medium Well – 145°F–155°F with only a touch of pink.
- Well-Done Steak – 155°F and above with no pink remaining.
Insert the thermometer into the thickest part of the steak and monitor its temperature as it cooks.
Once it reaches your target temperature, take it off the grill. The steak will continue to cook slightly as it rests.
Use a Meat Thermometer for Accuracy
Insert an instant-read thermometer into the center of the steak, avoiding the bone and fat pockets. Even experienced grill masters rely on thermometers. It’s precision, not a shortcut.
Let Your Steak Rest Before Serving
Do not rush the rest, because that short pause keeps more juice in every slice.
Why Resting Matters
Once the steak comes off the grill, let it rest before slicing.
During cooking, heat drives juices toward the steak’s center. Resting allows those juices to redistribute evenly throughout the meat. Cut too soon, and you’ll watch that flavorful liquid pool on your cutting board instead of staying in each bite.
How Long to Rest
Steaks under 1.5 inches need about 5 minutes of rest. Larger cuts may benefit from a little longer, but the principle stays the same: patience pays off.
Tent loosely with foil to retain warmth without trapping steam that softens your seared crust. A small pat of butter melting on top during this time adds a glossy, savory finish, especially when paired with steakhouse sides like potatoes or creamed spinach.
Common Grilling Mistakes to Avoid
A few easy-to-miss habits can still throw off a good steak.
Overcooking the Steak
This remains the most common mistake home cooks make. Start checking a few degrees before your target, so the final climb happens off the grill. You can always return an underdone steak to the grill, but there’s no reversing an overcooked one.
Constant Flipping
There are many ways to grill, but constantly turning the steak usually isn’t one of the best ways to grill steak.
Give each side enough time to develop color, flavor, and crust before turning.
Pressing Down While Cooking
Pressing also tears up the crust before it has a chance to set. Let the steak sit still so the crust can form and the juices stay put.
Skipping the Resting Step
Give the steak 5 to 10 minutes before slicing, depending on thickness. Skipping the rest consistently leaves thicker steaks less juicy once sliced.
Let Sullivan’s Handle the Sear
Grilling steak at home is its own kind of win, and with proper technique, you can build a crisp crust and juicy center in your own backyard. But some nights are better spent enjoying the experience instead.
That is where Sullivan’s Steakhouse comes in. Hand-cut steaks, signature cocktails, and live jazz set the table for a night that feels warm from the first hello.
From private dining celebrations to events featuring our steak catering, Sullivan’s brings people together over exceptional steak, signature cocktails, and warm hospitality. Find a Sullivan’s Steakhouse location near you and book a reservation today.
Sources
- USDA. What do beef grades mean? https://ask.fsis.usda.gov/article/What-do-beef-grades-mean
- FoodSafety.gov. Safe Minimum Internal Temperatures. https://akaprod-www.foodsafety.gov/food-safety-charts/safe-minimum-internal-temperatures